Appearance
Slides

PPT effect preview
Related Operations
Enter Slide Mode

Click
Style->beamerin the focus toolbar to enter slide mode.
Select Different Themes
Use the focus toolbar to switch slide themes.
Add and Switch Pages
Use the focus toolbar to add slides and switch slides.
Edit Text, Math, Enunciations, and More
This part is exactly the same as document editing. Please refer to the previous help docs.
Add Borders to Theorem and Other Enunciation Blocks
First enter the enunciation block that needs background rendering, then click Focus -> Preferences -> Theorem Border in the toolbar. This adds a border to the enunciation block, making theorem-style environments visually independent from other text content. (The operation and before/after effect are shown below.) 
Distinguish Folding Environments and Layers
Insert a folding environment:
Insert a switch
After inserting a Switch module and finishing content input on the first layer, you need to press Alt + →, or switch as shown below, to move to the second or even third layer so the effect takes place. 
Insert an unroll

Insert layers: In the menu bar, click
Insert->Fold->Layer->Standard. You can insert multiple layers through structured insertion. When you click where the layer is located, the current layer indicator appears in the focus (current environment) toolbar, and you can switch layers directly.
After creating layers, all content is shown by default. So if you want each layer to display only its own content, select the content in the layer to change, then click Insert -> Fold -> Layer -> Visable only here in the menu bar to make it visible only in the current layer. You can also apply the same steps for other effects, for example: click Insert -> Fold -> Layer -> Visable from here on to show content on the current and subsequent layers; click Insert -> Fold -> Layer -> Visable except here to hide content only on the current layer.
Effect demo: layers 1 and 2 set to
Visable only here, layer 3 set toVisable except here
How to Present Slides
Page Turning
The second button (PageDown) means next object rather than next page. It works like a presentation clicker and lets you move through consecutive next objects.
View Modes
There are multiple modes in the View menu. When Focus Mode and Presentation Mode are enabled, the top menu bar and toolbar disappear. At this point, right-click and uncheck the selected mode to restore the default state.
How to Export Slides
In the menu bar, click Edit -> Preferences to open the user preferences window. Click Convert -> Pdf and you will see a checkbox for expanding collapsible objects in slides. If it is not checked, exporting may turn one slide into multiple pages, as shown below:

Export effect when "expand collapsible objects in slides" is not checked
Export effect when "expand collapsible objects in slides" is checked
Free PPT Styles and Style Customization
Styles Included in the Software
- Blackboard
- Bluish
- Boring-white
- Dark-vador
- Granite
- Ice
- Manila-paper
- Metal
- Pale-blue
- Pine
- Reddish
- Ridged-paper
- Rough-paper
- Xperiment
Free Styles on the Official Website
Go to the official website, click the docs library, scroll down to the slides section, click a template, then click download to get it. (Included templates are shown below.)
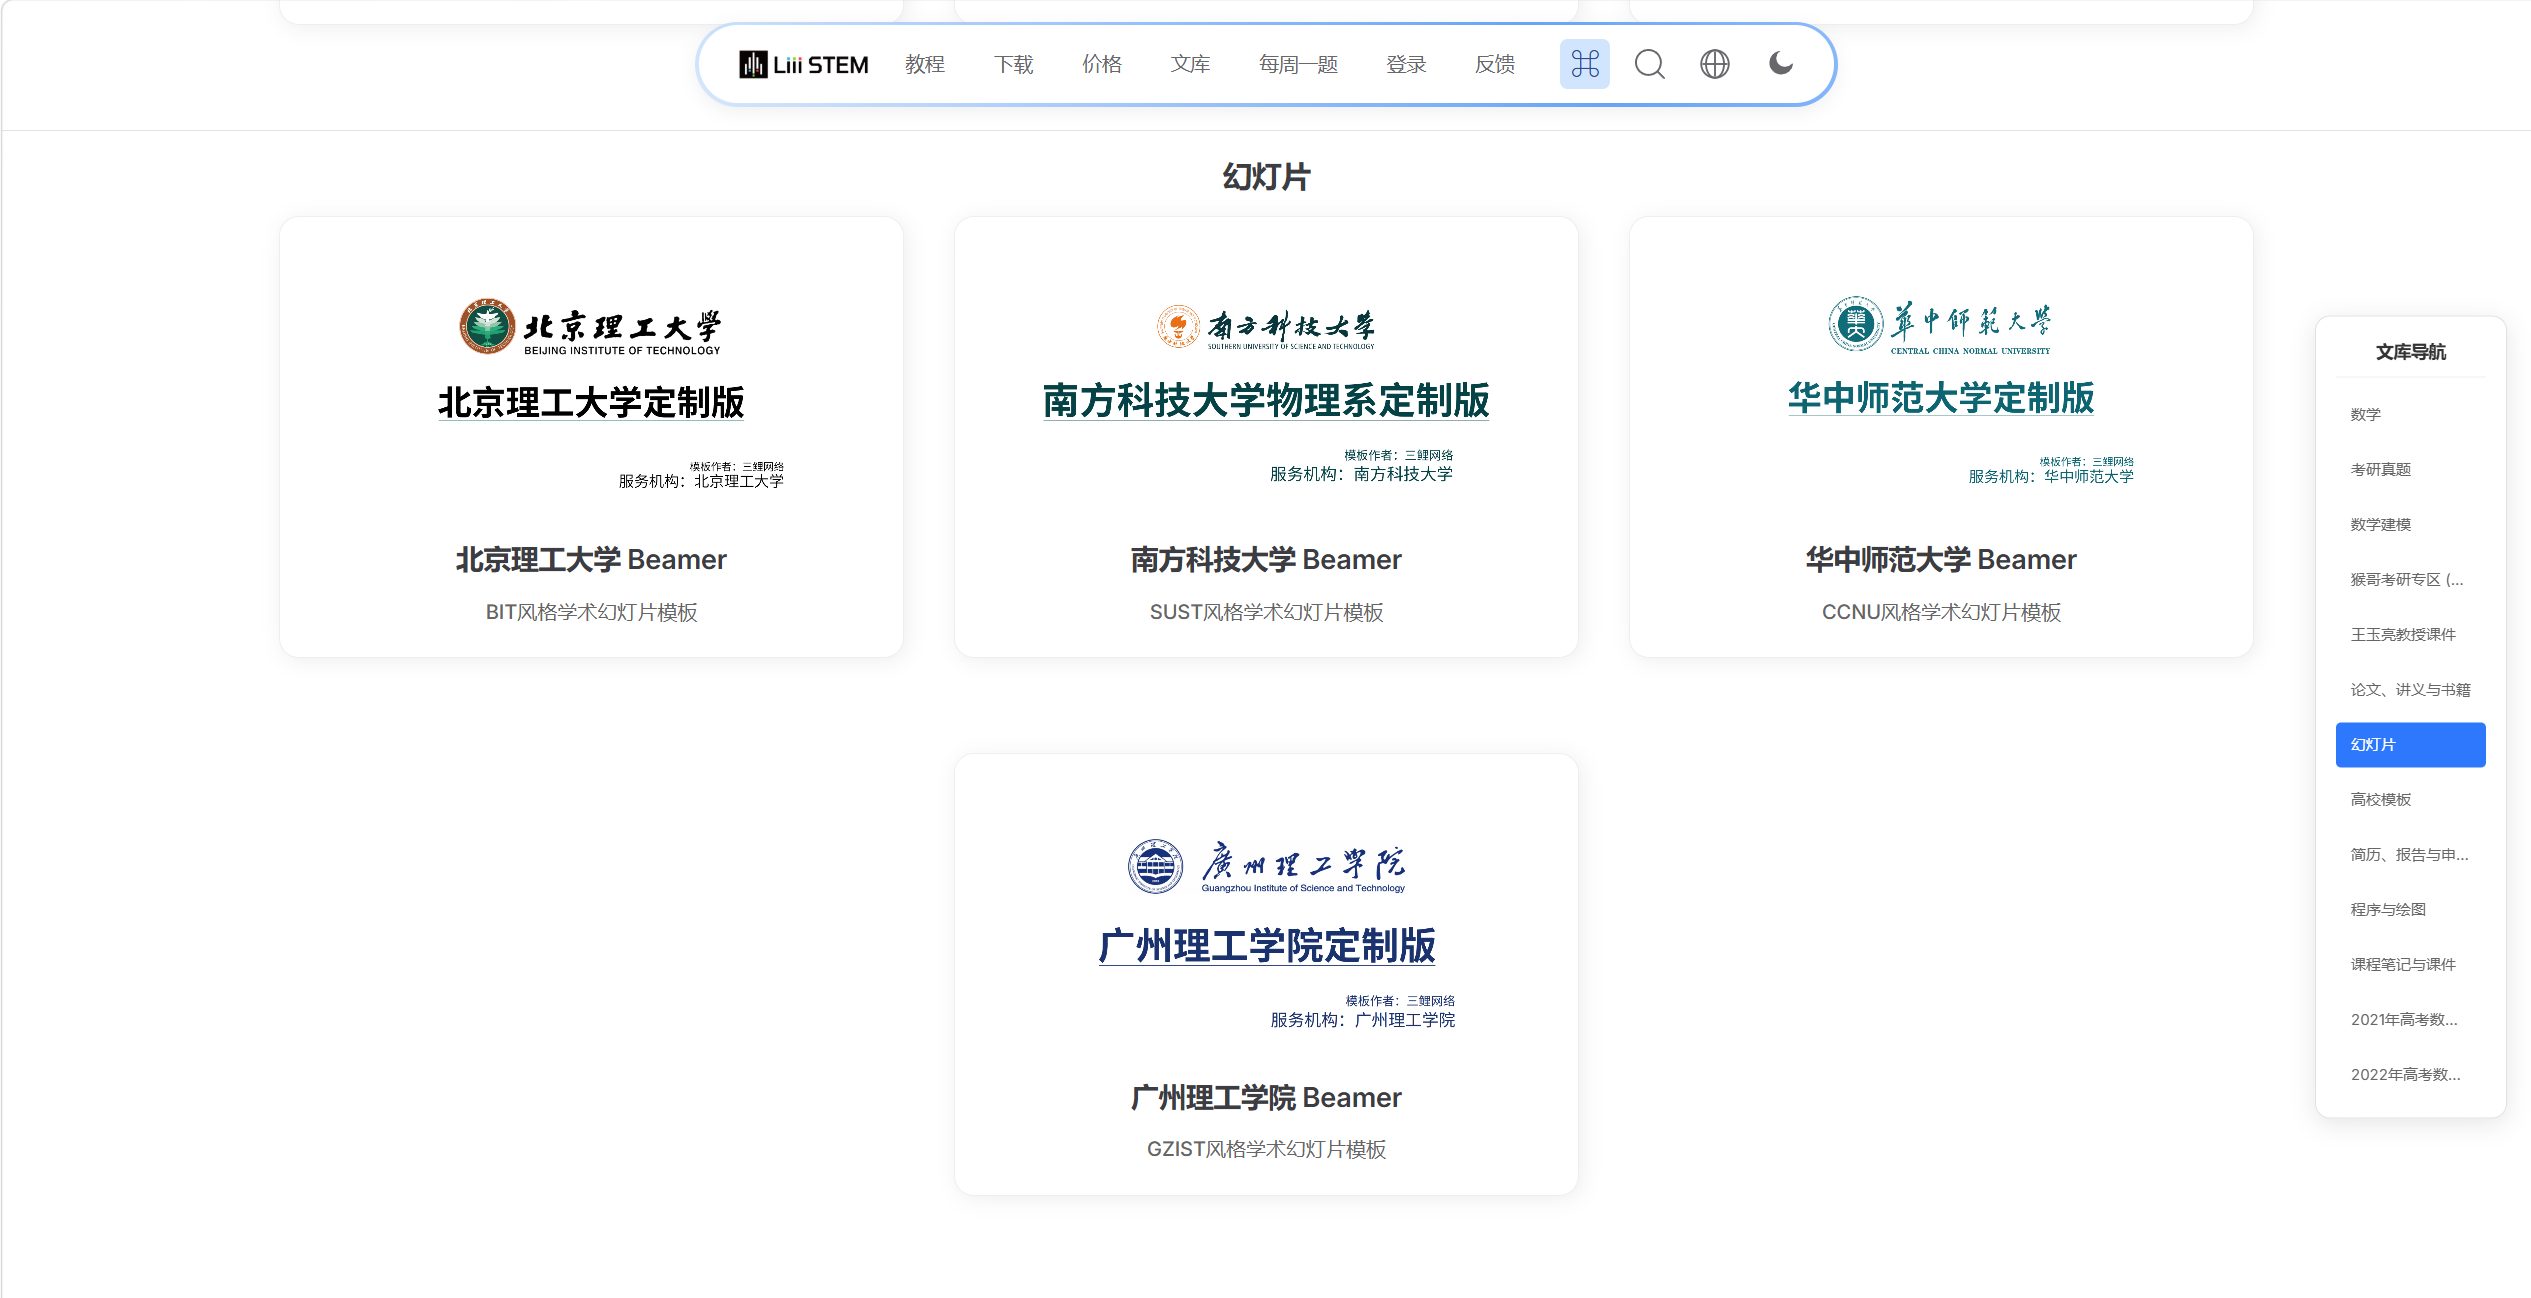
Free styles on the official website
Style Customization
After becoming a Fruit Member, you can customize one template each month. You can also purchase template customization services. For details, see Template Customization.