Appearance
Advanced Figure and Image Editing
Figures are commonly used environments in Liii STEM's text mode. For insertion and referencing, see Cross-Referencing. This guide covers all figure-related operations.
1. Figure vs. Image
In Liii STEM:
- A figure (a numbered environment) is defined as an image with a caption.
- An image is defined as a standalone picture without a caption.
These concepts enable the following distinct operations.
2. Inserting Figures and Images
- Inserting a Figure
Click Insert a picture button in the focus (current environment) toolbar →Small/Big figure.
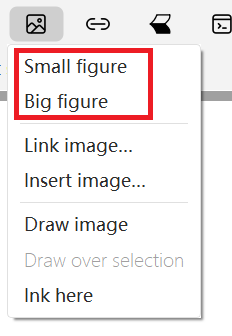
After inserting a Figure, paste or insert your needed image inside the Figure environment.

- Inserting an Image
To insert only an image.
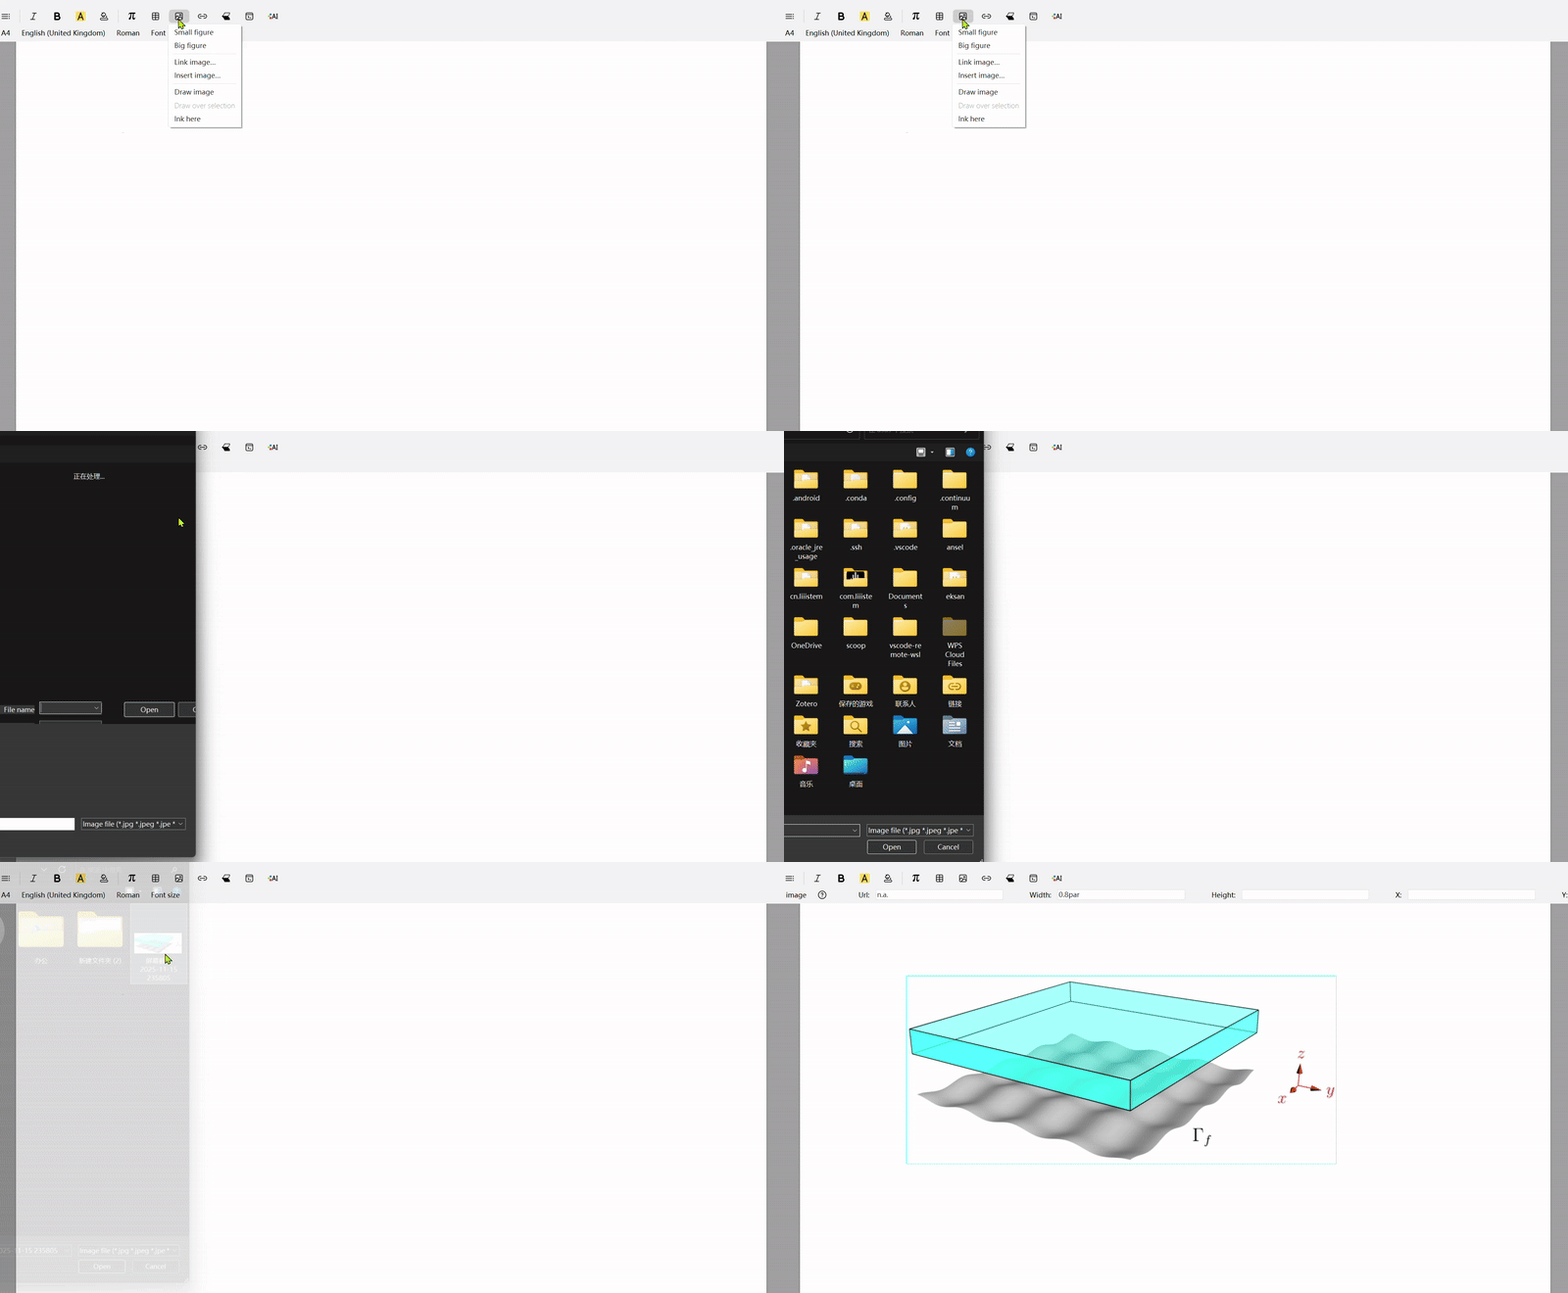
Two methods are available for inserting an image:
a. Insert the image directly into the document (similar to inserting images in Word). Mode Toolbar → Insert Image button → Insert Image...

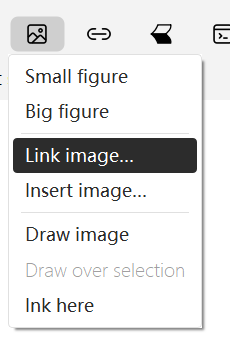
b. Inserts only a link to the image (similar to inserting images in LaTeX).
Advantages: Smaller document size, documents can share the same image, images can be updated independently. Disadvantages: Document is not containing the image; sharing the document requires separately sending all linked images.
Mode toolbar → Insert Image button → Link Image...
- Use the
↑button in the focus (current environment) toolbar to convert a linked image to an inserted one.
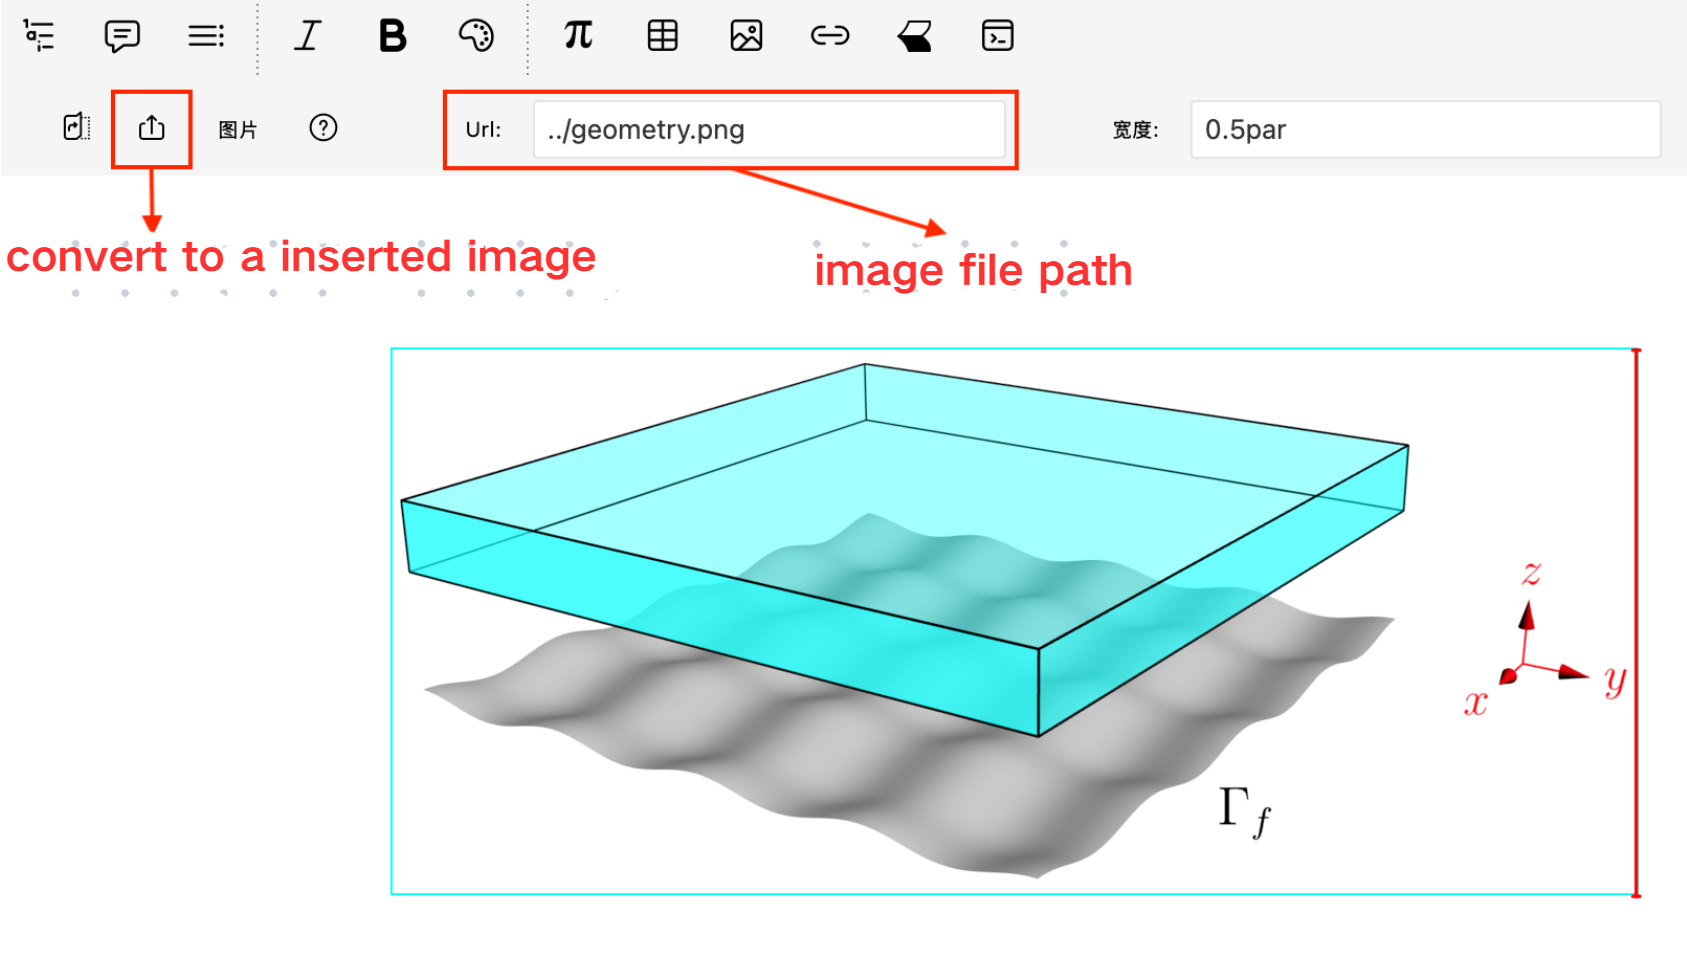
3. Image Properties
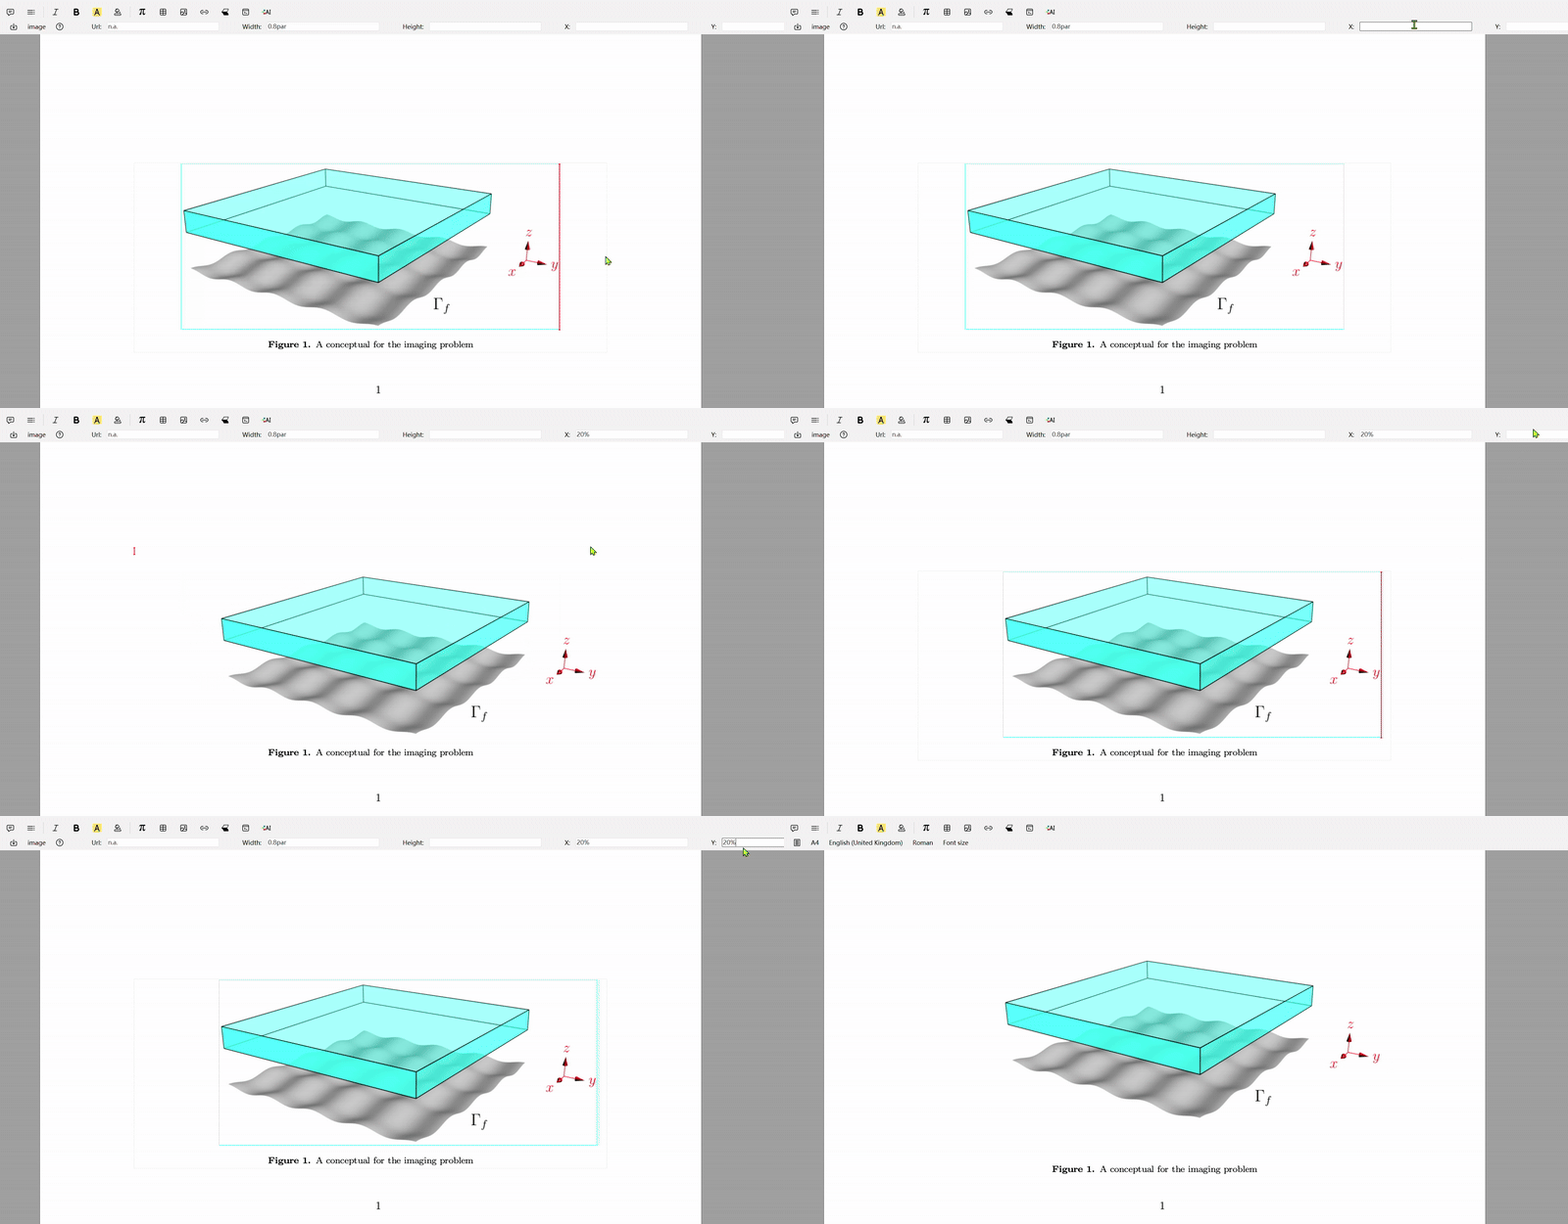
By default, images are displayed at their original size. You can adjust the width, height, and position of an image in the focus (current environment) toolbar.
- Resizing
If the width or height is set only, the image will be scaled proportionally.
For example, setting the width to 1par will make the image span the full paragraph, with the height adjusted automatically.
For regular images, we recommend setting the width to
0.5par.
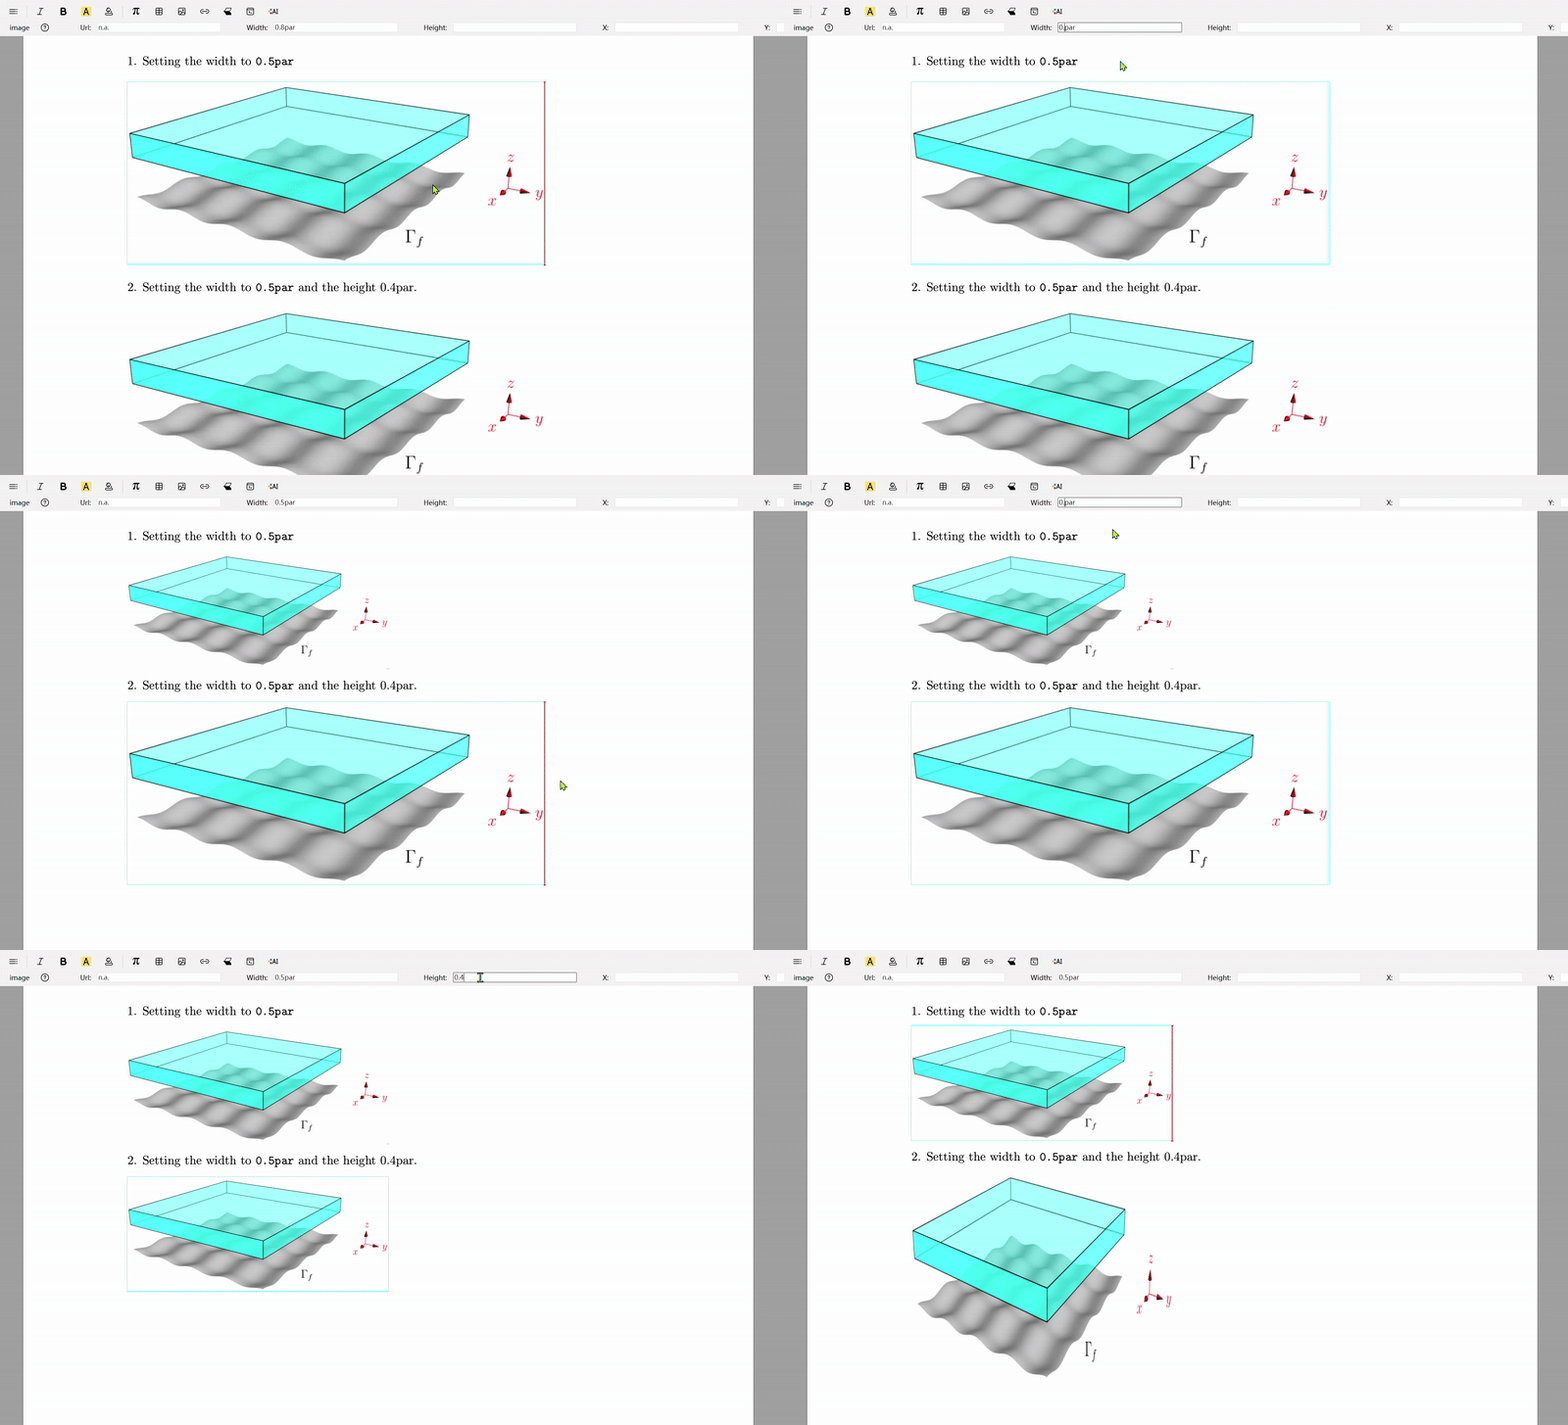
Use w and h to represent the default width and height of the image.
For example, setting the width to 2w and height to 2h will display the image at twice its default size.
- Repositioning
Use - to shift the image leftward or downward. Enter a percentage value (e.g., 50%) to specify the movement distance.
Example: Setting the X to 50% centers the image.
Note: Setting of the y only works in Figure environments. Images do not allow vertical adjustment. The Big Figure environment automatically centers images.
